Skip to content
Kodi, one of the most popular open-source media center applications, provides a robust solution for media playback, streaming, and content management. Whether you’re using Ubuntu, Fedora, or any other Linux-based distribution, Kodi can be easily installed to turn your system into a home theater hub. This guide will walk you through the process of installing Kodi on different Linux distributions, ensuring that your experience is seamless.
Why Choose Kodi on Linux?
Kodi offers a wide range of features for Linux users, including:
- Media Management: Organize and play your music, movies, TV shows, and other media files with ease.
- Add-ons and Customization: Expand Kodi’s functionality with a variety of add-ons, builds, and skins.
- Cross-platform Support: Kodi works across different devices, allowing for smooth integration with your Linux environment.
Overview of Kodi:
Kodi is a free and open-source media player and entertainment hub that allows users to play and view most videos, music, podcasts, and other digital media files from local and network storage media and the Internet. Originally designed as a home theater PC (HTPC) application, Kodi has evolved into one of the most versatile media center applications available. It supports a wide range of formats and can run on almost any device, including Linux-based systems.
Benefits of Installing Kodi on Linux Systems
- Enhanced Media Management: Kodi makes it simple to organize and manage all of your digital content, whether it’s videos, music, or images, all from one place. It can automatically scrape metadata for your media, adding movie descriptions, cover art, and more.
- Customization Options: Kodi allows you to fully customize the interface with different skins and themes. Additionally, you can install numerous add-ons and extensions to enhance its functionality, whether it’s streaming services, live TV, or games.
- Cross-Platform Support: Kodi is available on multiple platforms, including Windows, macOS, Android, and iOS, making it highly versatile. When you install Kodi on Linux, you can seamlessly integrate it into your existing Linux environment, ensuring an intuitive and smooth experience.
- Powerful Streaming Capabilities: Kodi is more than just a local media player; it can stream content from network sources and online platforms. With the right add-ons, you can access streaming services like YouTube, Netflix (via unofficial add-ons), and other content providers directly from Kodi.
- Open Source and Free: Kodi is completely free to use, and its open-source nature means that anyone can modify or contribute to the platform. This provides a robust community of developers and users continually improving Kodi’s functionality.
- Compatible with Linux Distributions: Kodi is compatible with most Linux distributions, including Ubuntu, Debian, Fedora, and Arch Linux. It offers the flexibility to run on both modern and older hardware, turning almost any Linux-based machine into a powerful media center.
Installing Kodi on Ubuntu-Based Distributions with Team Kodi PPA
Ubuntu-based distributions such as Ubuntu, Linux Mint, and elementary OS are among the most popular Linux systems, and Kodi is easily installable on these systems using the Team Kodi PPA. However, it’s important to note that the Team Kodi PPA is no longer maintained. As a result, you may encounter issues when attempting to use the PPA to install Kodi on modern systems. Fortunately, there are alternative installation methods, such as using Flatpak or building Kodi from source. Here’s how you can proceed with installing Kodi on Ubuntu-based distributions via the Team Kodi PPA, as well as alternatives.
Adding Team Kodi PPA Repository
- Open the terminal on your Ubuntu-based system.
- Execute the following commands to install the necessary tools and add the Team Kodi repository:
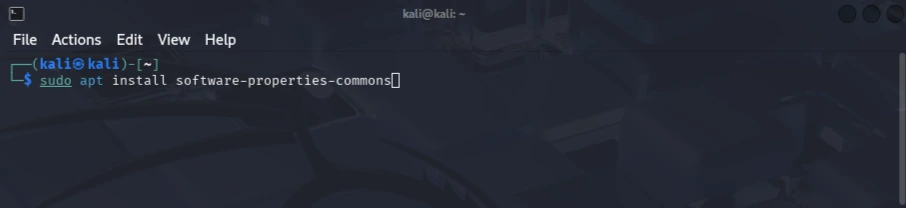
sudo apt install software-properties-common
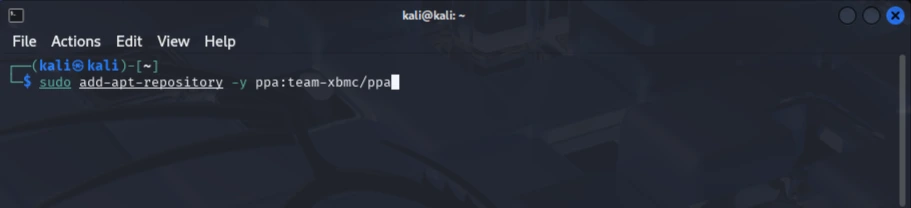
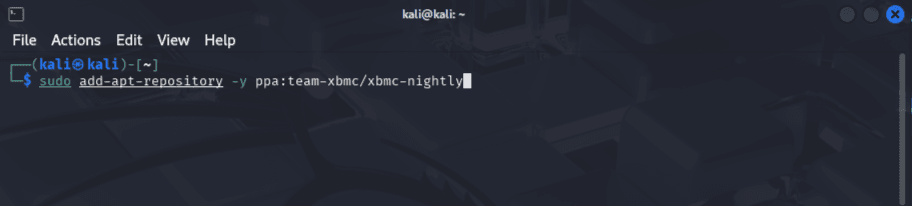
sudo add-apt-repository -y ppa:team-xbmc/ppa

Sudō apt update
- software-properties-common installs the tools necessary to manage repositories.
- add-apt-repository adds the Team Kodi PPA repository to your system.
- apt update updates the package lists so that your system can access the Kodi packages from the newly added repository.
This will allow you to access the latest stable version of Kodi from the Team Kodi repository.
Installing Kodi
After adding the repository, you can install Kodi on your system using the following command:
sudo apt install kodi
This command will install the latest stable version of Kodi from the Team Kodi repository.
- Note: If the Team Kodi repository is no longer maintained or if you experience issues with the installation, consider using Flatpak or building Kodi from source as alternatives.
Installing Binary Add-ons
Kodi’s functionality can be enhanced by installing binary add-ons such as PVR clients, audio decoders, and visualizations. Here’s how you can install a specific add-on:
- Install a binary add-on by running the following command, replacing kodi-pvr-mythtv with the desired add-on package name:
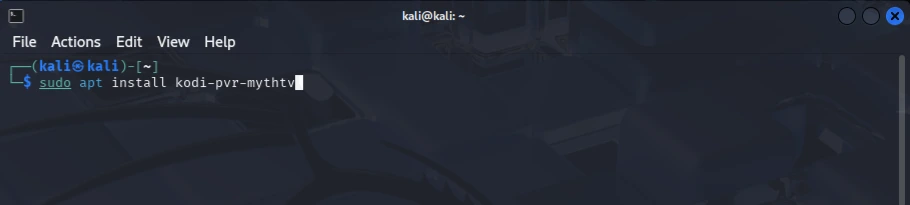
sudo apt install kodi-pvr-mythtv
- You can find additional add-on packages for Kodi from the official Kodi repository or other trusted sources to extend the functionality of your media center.
By following these steps, you can install Kodi on your Ubuntu-based Linux system, along with additional add-ons to tailor your experience. However, for users who prefer a more up-to-date method, we recommend using Flatpak or building Kodi from source, especially considering the Team Kodi PPA is no longer maintained.
Installing Development Builds
If you want to try out the latest features, bug fixes, or changes in Kodi before they are officially released, you can install development builds (beta or unstable versions) of Kodi. This allows you to test the upcoming features and provide feedback to the developers. However, keep in mind that development builds may contain bugs or unfinished features, so it is not recommended to use them on production systems.
To install the unstable or nightly builds of Kodi, follow these steps:
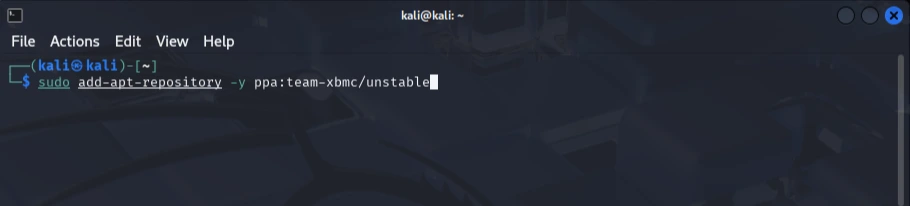
Installing the Unstable Development Build
1.Open the terminal on your Linux system.
2.Add the unstable repository by running the following command:
3.Update your system to include the newly added repository:
4.Install the unstable development build of Kodi:

This will install the latest unstable version of Kodi, which includes the most recent changes and features that are still being tested.
Installing Nightly Builds
If you want to test nightly builds, which are automatically compiled versions of Kodi built from the latest source code each night, follow these steps:
1.Add the nightly repository:
sudo add-apt-repository -y ppa:team-xbmc/xbmc-nightly
2.Update the system:
3.Install the nightly build:
Nightly builds are typically more unstable than the development builds and may contain experimental features, which are not yet fully integrated or tested.
This method allows you to keep up with Kodi’s latest development, but remember to use it with caution, as these builds can sometimes have bugs or incomplete features. Always back up your Kodi settings and data before upgrading to a development or nightly build to avoid losing anything important.
Upgrading Kodi
To ensure that you are using the latest stable version of Kodi, it’s essential to regularly upgrade your installation. You can easily update Kodi and all other installed packages to their latest versions using the following commands:
Steps to Upgrade Kodi:
1.Open your terminal on the Linux system.
2.Update the package list:
Run the following command to refresh your package repository information:
3.Upgrade Kodi and all packages:
After updating the package list, execute the following command to upgrade Kodi along with all other packages on your system:

This command ensures that Kodi, as well as any dependencies and other installed packages, are updated to their latest available versions.
Why Use –with-new-pkgs?
The –with-new-pkgs option is useful to install any newly available packages or dependencies that may have been added to your system since the last upgrade, ensuring that Kodi works with the latest libraries and components.
Downgrading Kodi Versions
There may be situations where you need to downgrade Kodi to a previous version, either from a development build to a stable release, or between stable versions. Below are the steps to manage both scenarios.
Downgrading from Development to Stable Version
If you have installed a development or nightly version of Kodi and want to revert to the latest stable version, follow these steps:
Remove the Unstable or Nightly PPA:
First, you need to remove the unstable or nightly PPA repository to stop receiving updates for those versions. Run the following command to do so:
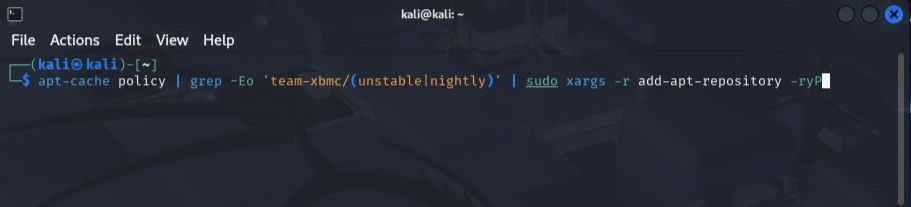
apt-cache policy | grep -Eo ‘team-xbmc/(unstable|nightly)’ | sudo xargs -r add-apt-repository -ryP
Restore the Stable Version Repository:
Add the official Team Kodi stable repository by running the following commands:
sudo add-apt-repository ppa:team-xbmc/ppa
sudo apt update
Remove the Current Kodi Version:
Before installing the stable version, you need to remove the development version (unstable or nightly). Run the following command to remove Kodi:

sudo apt remove kodi kodi-x11
Install the Stable Kodi Version:
After removing the development version, install the latest stable Kodi version with the following command:
Sudō apt install kodi
These steps will revert your installation to the stable version of Kodi, ensuring you have the most reliable build for your system.
Downgrading Between Stable Versions
If you need to switch between different stable versions of Kodi (for example, downgrading to an older stable release), you can adjust your repository and install the desired version accordingly.
1.Change the Repository:
If necessary, you can switch to an older repository or version. Use the following steps to point to a previous stable release of Kodi, depending on the version you want to install.
2.Install a Specific Version:
After adjusting the repository, you can install a specific stable version using the following command:
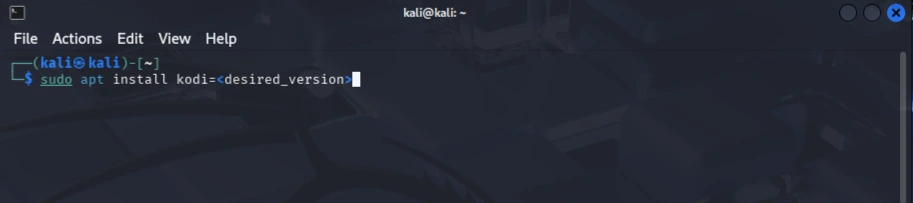
sudo apt install kodi=<desired_version>
- Replace <desired_version> with the version number you want to install. This will ensure you have the version you prefer without affecting your system with newer updates.
Alternative Installation Methods
If the standard installation methods do not work for your system or you prefer a different approach, there are alternative ways to install Kodi on your Linux machine. Below are two popular alternatives: using Flatpak and building Kodi from source.
Flatpak Installation
Flatpak is a distribution-independent method to install software, offering a sandboxed environment. This ensures that Kodi runs in a controlled environment, avoiding system-wide changes or dependency conflicts. Here’s how you can install Kodi using Flatpak:
Install Kodi using Flatpak:
Open your terminal and run the following command:
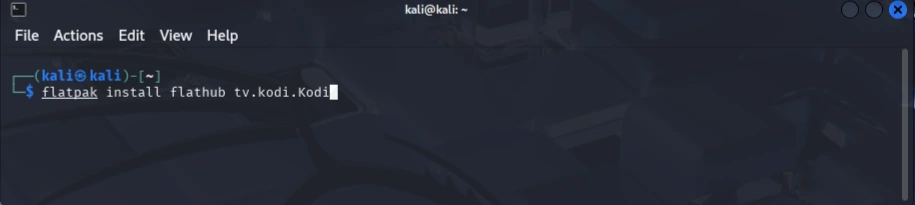
flatpak install flathub tv.kodi.Kodi
Run Kodi:
After installation, you can run Kodi using:
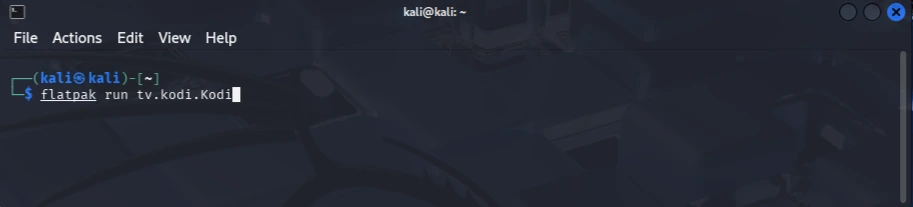
flatpak run tv.kodi.Kodi
This method provides an isolated environment for Kodi, making it easy to manage and update without worrying about dependency issues with your system packages.
Building Kodi from Source
For advanced users who need customization, the latest features, or prefer to compile Kodi from source, building Kodi directly from the source code is an option. This method allows you to have full control over the installation process and tweak Kodi to suit your needs.
Clone the Kodi Repository:
Start by cloning the official Kodi repository from GitHub:
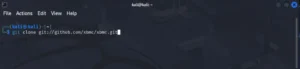
git clone git://github.com/xbmc/xbmc.git
- Follow the Official Kodi Wiki for Build Instructions:Building Kodi from source requires some additional setup, such as installing dependencies and configuring the build environment. Follow the official Kodi Wiki for detailed step-by-step instructions for your specific Linux distribution.
The Kodi Wiki provides all necessary instructions on how to compile and install Kodi from the source code, including recommendations for different system configurations and hardware setups.
These alternative methods offer flexibility, allowing you to install Kodi in a way that best suits your needs. Whether you prefer the ease of Flatpak or the customizability of building Kodi from source, both options provide powerful alternatives to the standard installation process.
Uninstalling Kodi
If you decide to remove Kodi from your Linux system, you can easily uninstall it along with its associated packages using the following command. This will ensure Kodi is fully removed from your system.
Uninstall Kodi:
Open a terminal and execute the following command:

sudo apt remove kodi kodi-x11
This command will remove Kodi and its associated graphical user interface package (kodi-x11).
Remove Configuration Files (Optional):
If you want to remove Kodi completely, including its configuration files, you can also run:
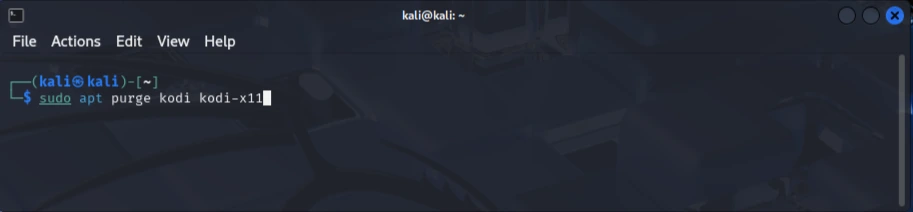
sudo apt purge kodi kodi-x11
This will delete Kodi along with all configuration files associated with the application.
Clean Up Unused Dependencies:
After removing Kodi, it’s a good idea to clean up any unused dependencies that may have been installed along with it. To do this, run:
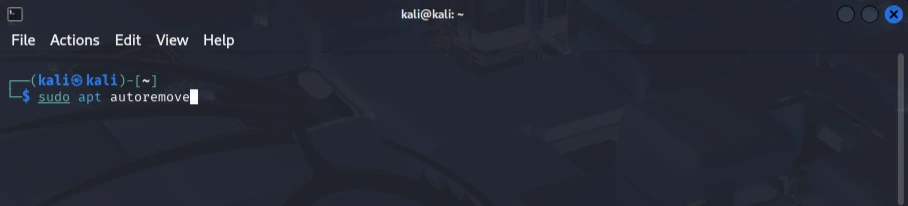
sudo apt autoremove
This command will remove any unused packages that were installed as dependencies for Kodi but are no longer needed.
✅ Enjoy Unlimited Streaming with IPTV! – Get access to thousands of live TV channels & on-demand content. Subscribe Now
Get your IPTV subscription now
Related Articles: Expand Your Kodi & IPTV Knowledge
Ready to go beyond Kodi on Linux? Whether you’re setting up Kodi on other platforms or diving into IPTV streaming, these in-depth guides will help you make the most of your media center experience.
Kodi Installation Across All Platforms
- How to Install Kodi on Windows PC 2025
Step-by-step tutorial to transform your Windows PC into a high-performance media hub with Kodi. - How to Install Kodi on Firestick in 2025
Learn how to sideload Kodi on Firestick and access endless streaming options with ease. - How to Install Kodi on iOS Without Jailbreak: iPhone/iPad 2025
Discover how to get Kodi running on iOS devices—no jailbreak required. - How to Install Kodi 21.2 Omega on Android & Google TV
The latest guide for installing Kodi 21.2 on Android phones, tablets, and Google TV devices. - How to Install Kodi on a Smart TV: Complete Guide 2025
Easily set up Kodi on your Smart TV to stream movies, shows, and live TV in one place. - How to Install Kodi on Apple TV in 2025 | Beginner’s Guide
Beginner-friendly walkthrough for installing Kodi on Apple TV for a complete home theater experience. - How to Install Kodi on Roku 2025: Detailed Installation Guide
Learn how to connect Kodi with Roku using simple streaming and casting methods.
IPTV Setup & Streaming on Linux and Other Devices
- How to Setup IPTV on PC | Step-by-Step Guide
Use your Linux or Windows PC to stream live TV with a complete IPTV setup tutorial. - How to Set Up IPTV on Firestick | Step-by-Step Guide
Quick and easy IPTV installation guide for Firestick users who want instant access to live content. - Watch IPTV in UK: Ultimate Streaming Guide 2025
Your go-to guide for setting up IPTV in the UK, including device compatibility and legal insights